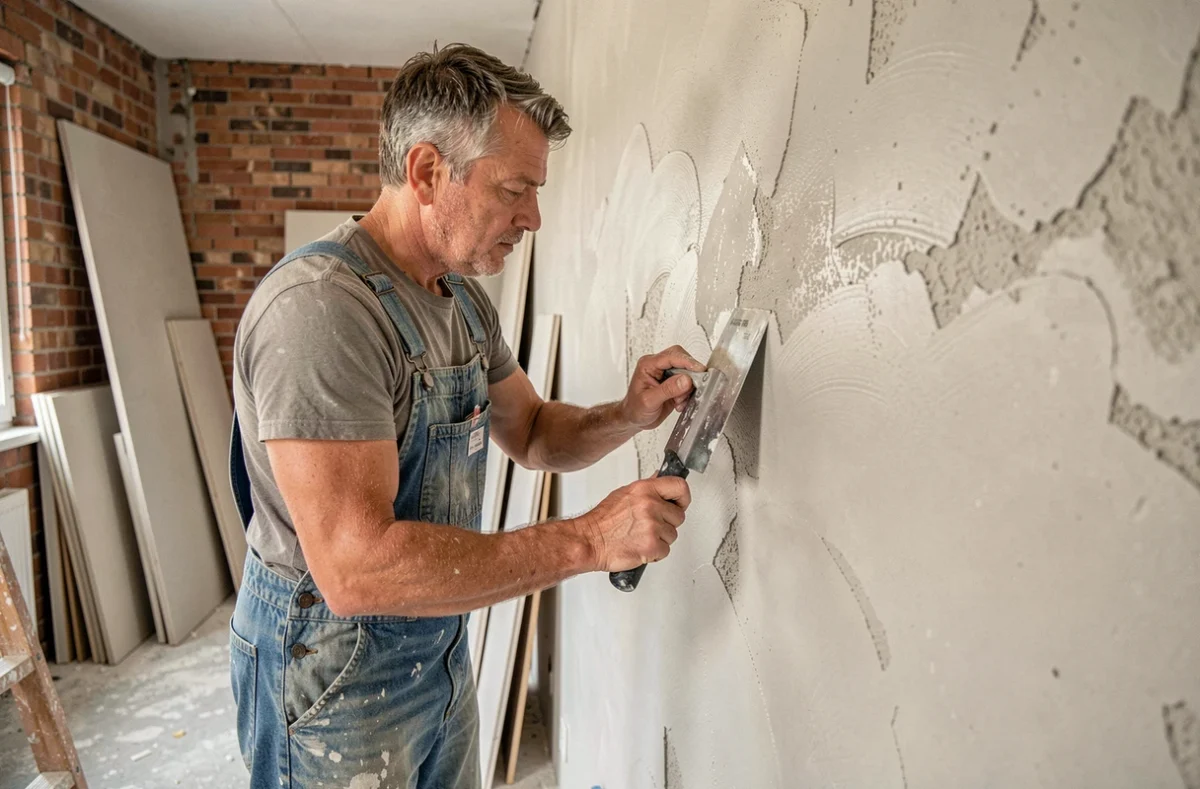
A crumbling wall, a heating bill that climbs every winter, an ageing bathroom: the reasons for renovating are rarely abstract. They stem from a specific discomfort. Making lasting improvements to a home means tackling these problems in the right order, so you don’t undo work you’ve just completed. Renovation work follows a strict technical sequence, and ignoring it can be costly.
Technical assessment of the building: what determines the entire renovation project
Before choosing insulation or flooring, you need to know the property’s actual condition. A technical assessment goes beyond the energy performance rating shown in the property listing. It involves identifying structural issues such as damp in load-bearing walls, a weakened roof frame, outdated electrical wiring, or the presence of asbestos or lead.
Have you ever noticed black marks near the bottom of an interior wall? That’s not a paint problem. It’s often caused by a failure in the waterproofing at the base of the façade or rising damp. Insulating the wall without addressing the cause is like putting a bandage on a fracture.
The assessment determines the order and budget for each intervention. A building professional, architect or project manager will identify these issues during a thorough inspection. They will also identify planning constraints under the local urban development plan, helping you avoid surprises when applying for a building permit or submitting a prior declaration of works.
Having a specialist handle this stage gives you a clearer picture of the project. This is exactly what Bâtir Architecte’s services cover, from the initial assessment through to site supervision.
Insulation and ventilation: the technical duo that should never be separated
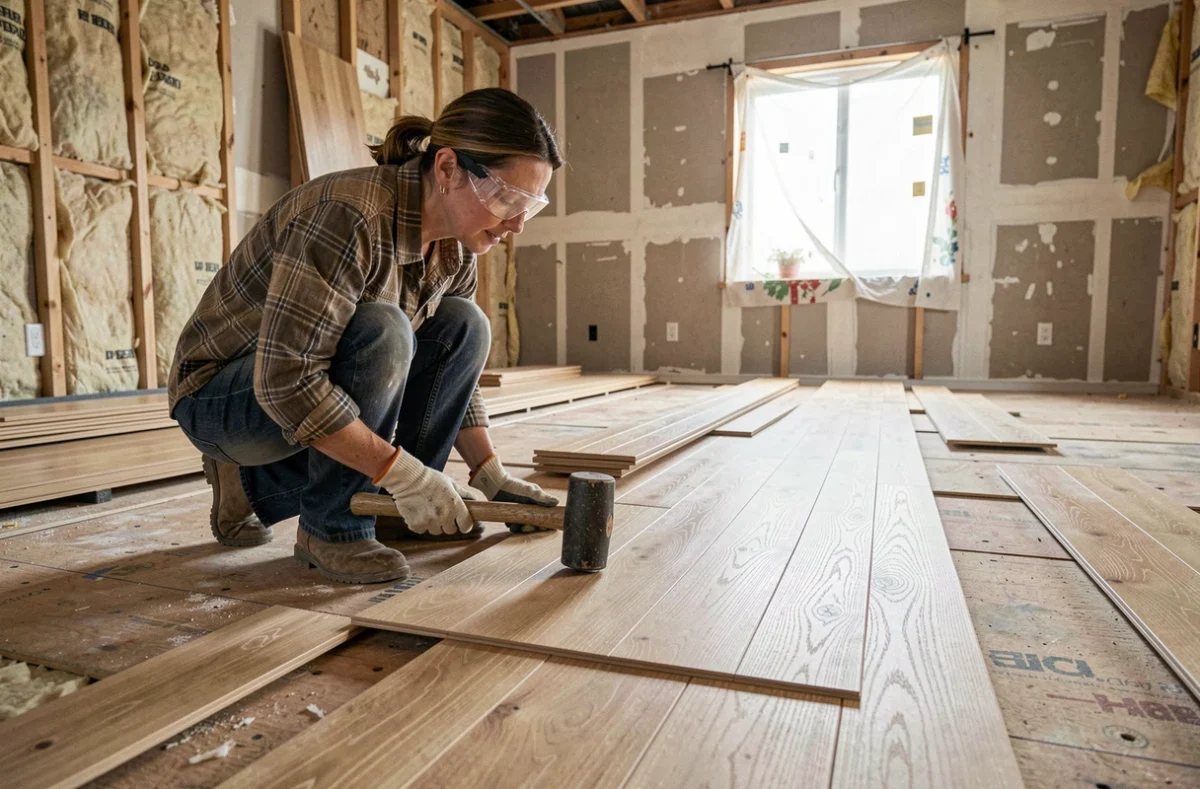
Most energy renovation guides list insulation as the first step. That’s true, but incomplete. Insulating without adapting the ventilation creates an airtight home where moisture builds up, mould appears and air quality deteriorates.
Why insulation comes first
A poorly insulated home loses heat through the roof (the largest source of heat loss), followed by the walls, windows and ground floor. Improving the building envelope reduces heating demand before you even touch the boiler. The heating system can then be sized for a home that uses less energy, allowing you to choose smaller, less expensive equipment.
Insulating an unconverted attic offers one of the best returns in terms of cost and thermal improvement. For walls, external insulation eliminates most thermal bridges, but changes the appearance of the façade and may require planning permission.
Adapt ventilation to the new level of airtightness
An older building “breathed” through its defects: worn window seals, cracks and uncontrolled air inlets. Once insulation seals these leaks, mechanical ventilation becomes the home’s only means of air renewal. A single-flow mechanical ventilation system is sufficient in many cases. A heat-recovery ventilation system, which recovers heat from outgoing air, is justified in whole-home renovations targeting very high energy performance.
In practice, the layout of the extraction vents (kitchen, bathroom, toilet) and air inlets (bedrooms, living room) should be planned before work begins. Installing a ventilation system afterwards means cutting ducts into finished walls.
Choosing a heating system after renovating the building envelope
A common mistake is to replace the boiler first to qualify for financial assistance, then insulate afterwards. The result: equipment that’s oversized for a home that now uses less energy, causing it to run below capacity and wear out prematurely.
Choose the heating system after insulation, never before. Calculating the heat loss of the renovated home determines the required output. An air-to-water heat pump, a pellet stove connected to a hydronic heating system, or a condensing gas boiler: each option suits a different type of home and usage pattern.
Before making a final choice, check local planning rules. Some municipalities regulate the installation of outdoor heat pump units, particularly in protected areas or apartment buildings. The local urban development plan and the building’s co-ownership regulations are the two documents to consult.
- Air-to-water heat pump: suitable for detached houses with an existing radiator network or underfloor heating, but the outdoor unit can generate noise, so check the impact on neighbours.
- Pellet stove or boiler: uses a renewable fuel that can be stored, but requires space for a storage silo and a compliant flue.
- Condensing gas boiler: a good option for replacing an old gas boiler when the gas supply is already in place, but public subsidies are becoming less available.
Site handover and checks after renovation work
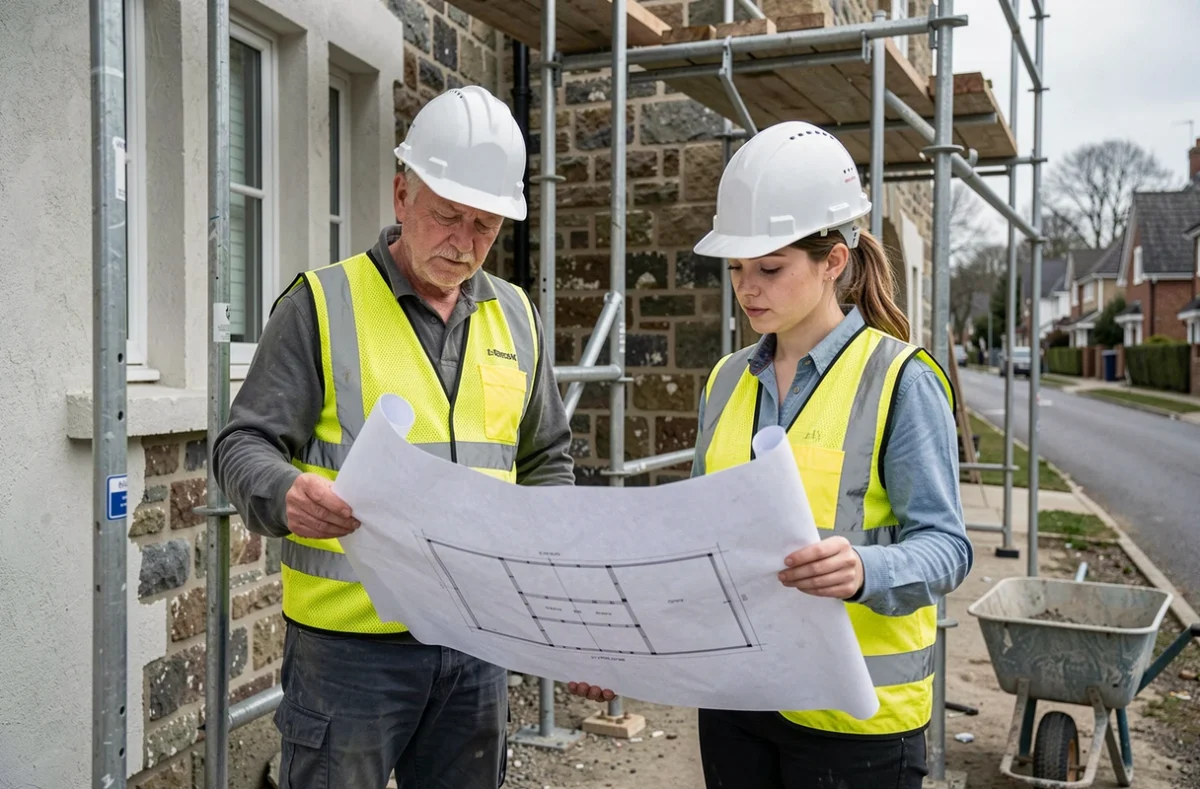
The work is finished and the tradespeople are packing away their tools. This is the most overlooked stage of the project. Formal acceptance of the work is a legal act that triggers the statutory warranties (completion, two-year and ten-year warranties). Without a handover report, these warranties have no start date.
Record every visible defect in the handover report. A crack in the render, a poorly finished joint, a shutter that sticks: anything documented requires the contractor to fix it within a reasonable timeframe. Anything not recorded is harder to claim for later.
Here are a few practical checks to carry out on the day of handover:
- Test every water outlet (flow rate, drainage and no leaks under pressure).
- Check the ventilation airflow by holding a sheet of paper near the extraction vents.
- Check that all windows and doors open and close properly, including roof windows.
- Ask for the technical data sheets for the materials installed (insulation, flooring, heating equipment) to build a home maintenance file.
Renovating a home doesn’t end with the final coat of paint. A well-renovated home is inspected, formally handed over and documented. This attention to detail at the end of the project is what turns one-off work into a lasting improvement in comfort and the home’s energy performance.